
Understanding Veneer Hub and Its Applications
The veneer hub represents a central resource for wood veneer materials, improving both aesthetics and functionality in various design applications. Whether it’s for residential or commercial projects, the versatility of veneer hub provides endless opportunities for innovative wood design. In this section, we will explore what a veneer hub is, common uses of wood veneer, and the benefits of incorporating veneer into design projects.
What is a Veneer Hub?
A veneer hub is essentially a digital or physical marketplace that specializes in wood veneers and related products. It serves as a one-stop-shop for designers, architects, and DIY enthusiasts who are seeking high-quality veneer options for their projects. These hubs often offer various veneer types, colors, styles, and finish options, making it easier for consumers to find the perfect match for their specific needs. Beyond selling materials, a veneer hub can also provide vital resources, tips, installation guides, and maintenance information related to veneer use.
Common Uses of Wood Veneer
Wood veneer is lauded for its versatility and aesthetic appeal, making it a popular choice for numerous applications. Here are some common uses:
- Furniture: Veneer adds richness and character to furniture items such as tables, chairs, wardrobes, and cabinets, enhancing their overall visual impact.
- Interior Panels: It is commonly used in wall panels providing elegance while allowing for acoustic properties that can improve sound quality in a room.
- Doors: Veneered doors offer a refined look, combining wood’s warmth with other materials for modern design aesthetics.
- Decorative Items: Smaller items such as picture frames, decorative boxes, and art pieces can utilize veneer for a luxurious finish without compromising on weight or bulk.
Benefits of Using Veneer in Design
Incorporating wood veneer into design projects offers several advantages:
- Cost-Effective: Veneer provides the appearance of solid wood at a fraction of the cost, allowing broader access to quality materials.
- Eco-Friendly: By using thin layers of real wood, veneer maximizes the use of timber resources, promoting sustainability.
- Lightweight: Its lightweight nature enables easier handling and installation compared to solid wood.
- Variety: Available in an extensive range of woods, colors, and finishes, veneer can match virtually any design theme.
- Customizable: Veneer can be stained, painted, or finished differently, allowing it to fit seamlessly into varied aesthetics.
Choosing the Right Veneer for Your Project
Selecting the appropriate veneer for a project can significantly impact its overall success. Knowing the factors to consider, popular types of veneer, and how to match veneer with different interior styles is crucial. Here are some insights:
Factors to Consider When Selecting Veneer
When choosing veneer, consider the following factors:
- Purpose: Determine whether the veneer will be decorative, functional, or both to select the best type.
- Durability: Evaluate how much wear and tear the veneer will face; thicker veneers or reconstituted types can be more resilient.
- Design Style: Ensure that the veneer type complements the overall aesthetic of your space, whether modern, rustic, or traditional.
- Color and Finish: Match veneer colors and finishes with existing furnishings or decor elements for a cohesive look.
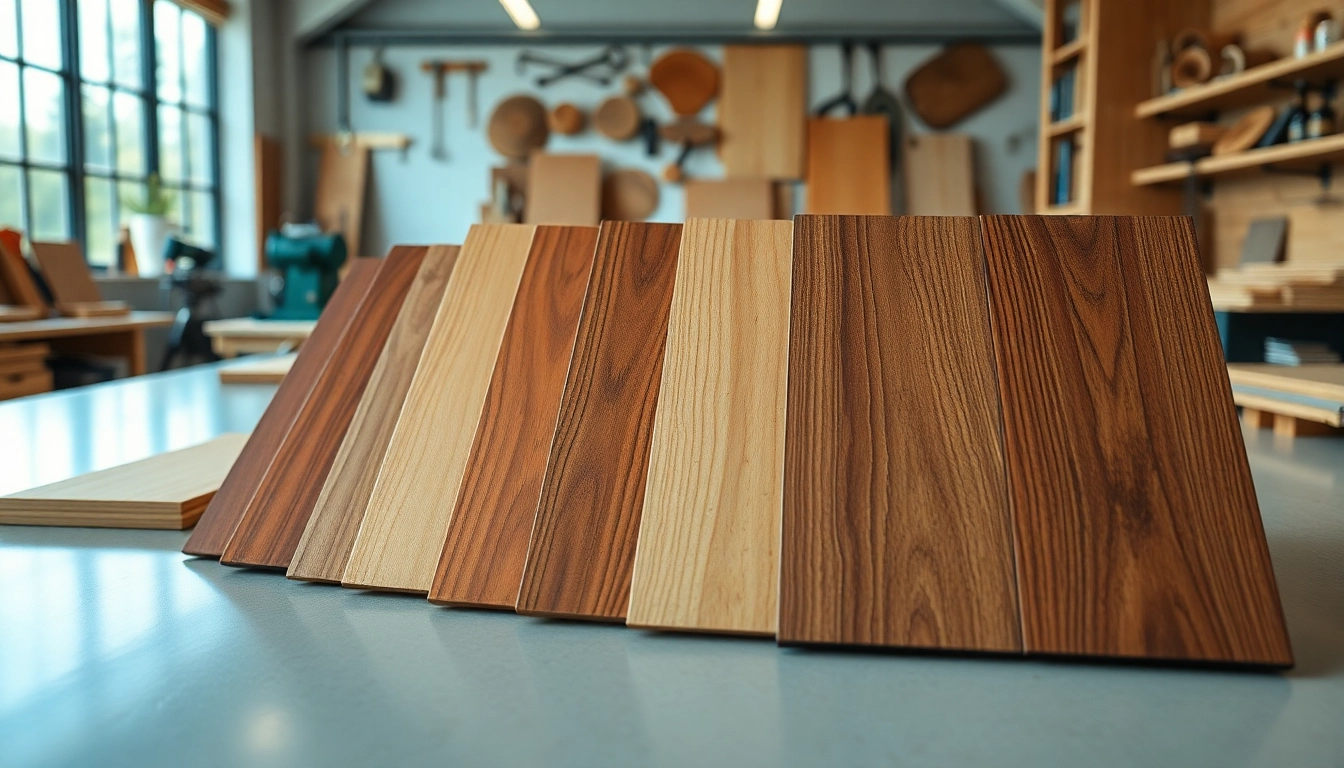
Popular Types of Veneer Available
Veneers can be classified into several categories, each with unique properties:
- Natural Veneer: Made from real wood slices, showcasing the genuine grain patterns and colors.
- Reconstituted Veneer: Engineered from sustainable sources that replicate the appearance of natural wood, providing consistent patterns.
- Backed Veneer: Reinforced with a backing material to enhance durability and facilitate easier handling during installation.
- Wood Laminate: Contrived from multiple layers of veneer, providing stability and resistance against changes in humidity.
How to Match Veneer with Interior Styles
Understanding how to harmonize veneer with different interior styles can make a substantial difference in appealing design:
- Modern: Lean toward sleek, light-colored veneers like birch or maple to enhance minimalistic designs.
- Rustic: Choose veneers with dramatic grains, such as oak or walnut, to embody the charm of country or farmhouse aesthetics.
- Traditional: Opt for rich-toned, darker woods to reflect classic design elements commonly found in traditional spaces.
- Eclectic: Feel free to mix various veneers and finishes, reflecting individual creativity and layered styles.
Installation Techniques for Veneer Products
Correctly installing veneer is vital to achieving a polished result. This section will guide you through essential techniques and tips for successful veneer installation.
Step-by-Step Installation Guide
Follow these steps for seamless veneer installation:
- Prepare the Surface: Start by ensuring the surface is smooth, clean, and free from debris or oils.
- Measure and Cut: Accurately measure the areas where the veneer will be installed and cut the veneer to size with precision.
- Adhesive Application: Apply a suitable adhesive to either the veneer or the substrate, following the manufacturer’s recommendations.
- Positioning: Carefully align the veneer and press it firmly into place, using a roller to eliminate air bubbles.
- Trimming Edges: Once the adhesive has cured, trim any excessive veneer to ensure neat edges.
Tools Required for a Successful Installation
Ensuring you have the right tools on hand is essential for a successful installation:
- Utility knife for cutting veneer
- Measuring tape for accurate sizing
- Roller to smooth veneer and remove air bubbles
- Adhesive suitable for veneer bonding
- Clamps to hold veneer in place until adhesive sets
Common Mistakes to Avoid When Installing Veneer
To enhance your efficiency and outcomes, here are some typical pitfalls to avoid:
- Neglecting Surface Preparation: Skipping the surface prep can lead to poor adhesion and an uneven finish.
- Inaccurate Measurements: Always double-check measurements to prevent waste and mismatched pieces.
- Using Wrong Adhesive: Ensure the adhesive is compatible with both veneer and substrate to avoid failures.
- Rushing the Process: Patience is critical; rushing can result in mistakes and subpar results.
Maintenance and Care for Veneer Surfaces
Proper maintenance is integral to ensuring longevity and visual appeal in veneer products. This section will cover effective cleaning, repair methods, and longevity tips for veneer surfaces.
Cleaning Tips for Veneered Furniture
To maintain the beauty of veneer, follow these cleaning tips:
- Dust Regularly: Use a soft, dry cloth to dust veneer surfaces regularly, preventing buildup.
- Avoid Excessive Moisture: Use only slightly damp cloths for cleaning; excessive water can damage the adhesive.
- Use Mild Detergents: For tougher stains, use gentle pH-balanced cleaners, avoiding harsh chemicals.
How to Repair Damaged Veneer
Repairing damaged veneer can be manageable with proper techniques:
- For Scratched Surfaces: Use wood filler or a color-matched marker to conceal minor scratches.
- Peeling Edges: Re-adhere peeling veneer edges using a wood glue; clamp until secure.
- Replacement of Panels: For severe damage, consider replacing the entire veneer panel meticulously to maintain aesthetic integrity.
Ensuring Longevity for Your Veneer Hub Products
Taking steps to enhance the longevity of your veneer products is straightforward:
- Control Humidity: Maintain consistent indoor humidity levels to prevent veneer from warping or cracking.
- Use Proper Coatings: Apply suitable finishes, such as varnish or lacquer, for added protection against wear.
- Avoid Direct Sunlight: Refrain from placing items in direct sunlight to prevent fading and discoloration over time.
FAQs about Veneer Hub Products
What surfaces can veneer be applied to?
Veneer can be applied to various surfaces, including MDF, plywood, particleboard, and solid wood, ensuring a seamless finish.
Can veneer be painted or stained?
Yes, veneer can be painted or stained; it is advisable to perform a sample on a small area to test compatibility and appearance first.
Is veneer environmentally friendly?
Veneer is considered environmentally friendly as it uses less wood than solid lumber, promoting sustainability in woodworking practices.
How do I measure for new veneer installation?
Measure the area of the surface to be covered, account for any joints or seams, and add extra material for trimming to ensure precise fitting.
What is the cost range for veneer materials?
The cost for veneer materials can vary significantly based on type, quality, and source, generally ranging from $2 to $30 per square foot.